Location Data and Remote Servers
Tutorial on establishing communication with an Arduino MKR 1400 and a Node.js server using the MQTT protocol. Detailed instructions are given with full source code and 3D models.
Introduction
The project uses the Arduino MKR GSM 1400 to extract the GPS coordinates of the current location, and utilize GPRS and MQTT to transmit the coordinates to an online broker. The transmitted information can be extracted by any other clients that have access to the service; this means that data can be logged in a database, or used in real-time for applications such as automation, remote control, visualization, and many more.
System Details
For the needs of this project, the following hardware components were used:
- Arduino MKR GSM 1400
- Antenna for MKR GSM 1400
- Grove LCD RGB screen
- Lithium battery, 3.7V, 2A
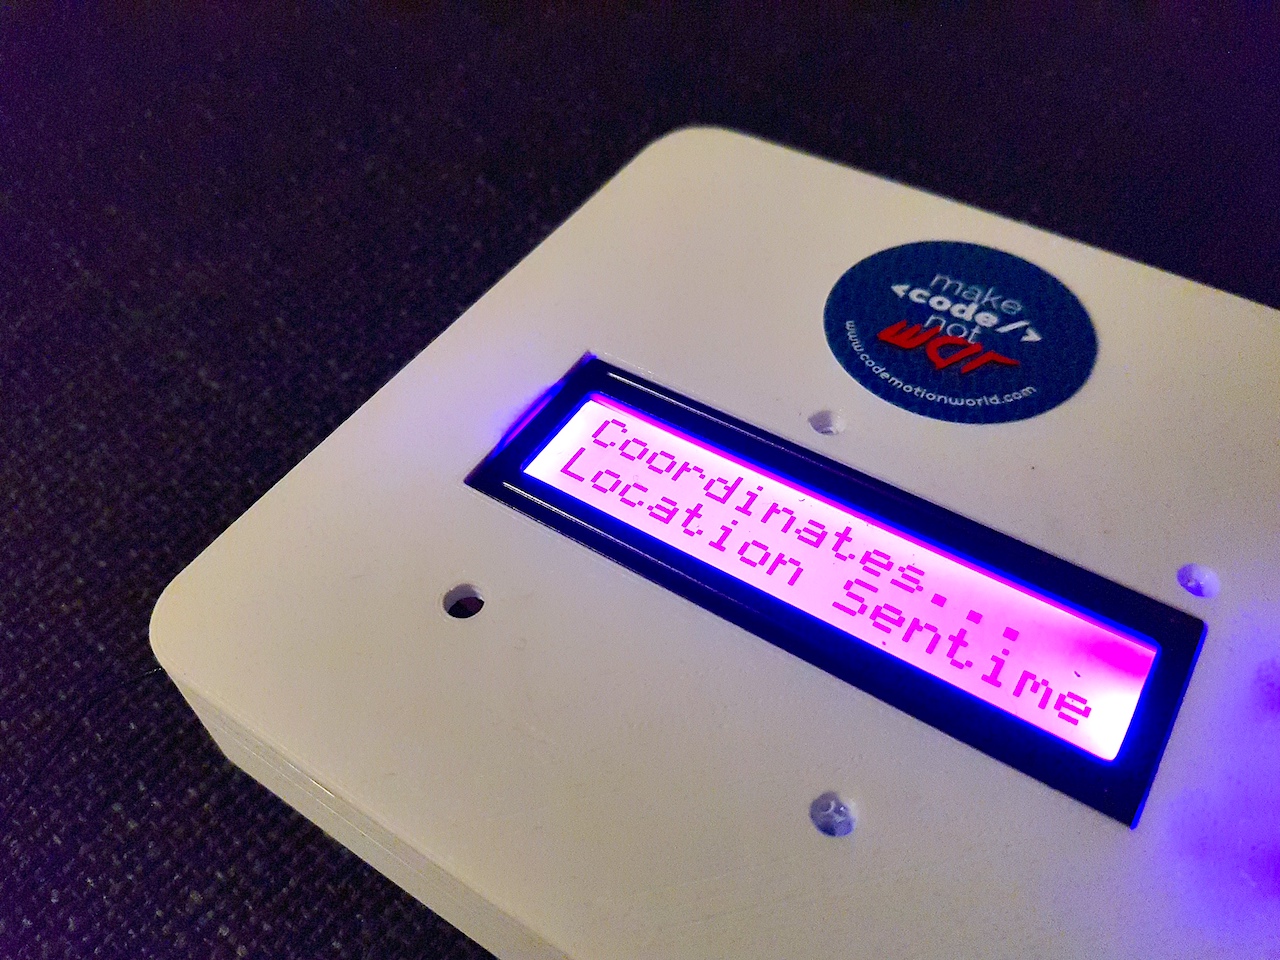
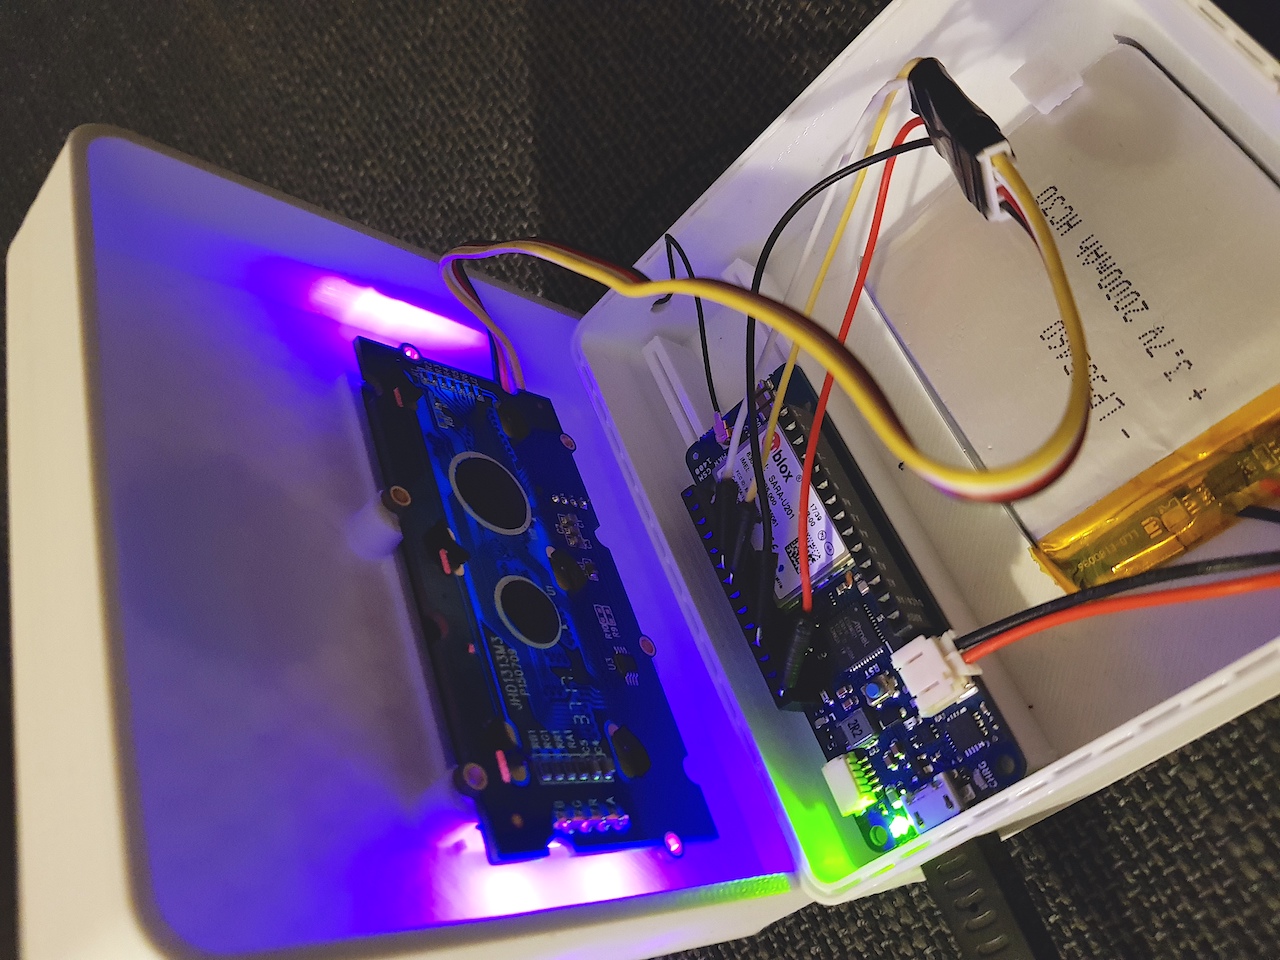
In addition to this, a custom 3D-printed object was made to host all components together (which you can find in models/MKRGSM-3DModel.zip). The device is mobile, and can be used for a sufficient period of time on its own. Following are photos of the finalised device.
Arduino Code
This part explains the code used for the board
Import Libraries / Declarations
For this project, a few dependencies are needed, which can be found in the folder named libraries; here follows a description for them:
- The MKRGSM library is used for accessing the board’s functions in connecting to a GSM network (Global System for Mobile communication) using a SIM card and accessing the GPS module for extracting information related to location. The arduino_secrets is needed for setting the SIM card’s settings (GPRS/APN – General Packet Radio Services / Access Point Name), and related credentials – if any. In order to find out what settings to use, check online about your provider’s APN keyword (for EE it is “everywhere”) – usually there is no login and password.
- PubSubClient is the MQTT (Message Queuing Telemetry Transport) library that allows us to use the board as a client for broadcasting information to the broker (server); this is needed for transmitting real-time information to our system, and also for logging sensor values, location coordinates, etc., to our main database (mongoDB).
- The library dtostrf is needed for an accurate conversion of the location coordinates to a String (this is required by the MQTT protocol). For example, the latitude will return a number such as: 50.3749161 – this has to be converted accurately to a String: “50.3749161”.
- Finally, the libraries Wire and rgb_lcd are used by the RGB LCD screen that is used in this project; if you do not use the same screen, or no screen at all, then this part is not necessary.
The following code initializes most of the variables and settings needed in the project. First, its necessary to store the sensitive data of the GPRS network in our variables (i.e. APN, pin number, login, and password), so that we can access them later for GPRS and GPS connections – set the full information of the credentials is in the arduino_secrets.h tab.
Also, we need to initialize the GSM and GPRS instances from the library MKRGSM. These will allow us to communicate with the hardware and get the location coordinates, as well as connect to the web for the MQTT communication (sending and receiving messages).
In the MQTT settings we have to provide the topic that the client is subscribed to, and the IP address of the MQTT broker, which has been setup for this example on a private site. If you would like to setup your own, you can use CloudMQTT, HiveMQ, or develop your own instance in Heroku.
Finally, we configure the LCD settings – color and brightness of the screen.
Setup
In the setup function we initialize the serial communication between the board and the computer (for debugging purposes), and also start the LCD display. Following that, we connect the board with the GPRS service, and if successful, we make a call to the GPS module in order to get the location’s coordinates.
Loop Function
In the loop function, we wait for the module to make available the location, and when this happens, the information is printed on the Serial Monitor, as well as the LCD screen. In addition, the mqttMessage() function is executed, which takes the provided information of the location, and sends it to the MQTT broker.
MQTT
Finally, the following code makes sure that the board is connected using MQTT with the online broker, which distributes the messages to any other client that is subscribed to the same topic. This can be helpful if we need to develop further connections, such as a database that stores the broadcasted information, or an additional system for automation, remote control, visualization, and so on.
The mqttMessage() function takes the information from the location (latitude and longitude), and constructs a payload with this information formatted as a JSON message. After the message has been formatted accordindly, it is published in the appropriate.
If the client cannot connect, the mqttReconnect() function is executed, which intends to make a new attempt in communicating with the MQTT broker. The function includes also a debugging feature, so that we can easily understand why the problem occurs – this appears on the Serial Monitor.
Node.js – Application Server
This project includes in addition a code example for Node.js that demonstrates how to read the MQTT messages broadcasted from the MKR1400. The package.json file references all libraries needed for this project, which they are also included in the node_modules folder, or they can be installed using Terminal (or Command Prompt) with:
In the Node.js app, we need to import the Express and MQTT modules. The Express module is used in creating a web server for our application, which runs locally on port 3000.
In order to execute this example, make sure that you set in Terminal (or Command Prompt) the current directory (cd) for this NodeJS folder. Use npm to start the service: